Submit a Book in Danish
This guide explains how to submit a Danish book (e.g. a report, dissertation, or monograph) for publication with one of the publishers on Open Books. The guide is also available in Danish if you prefer to use the website in Danish and see what it looks like when submitting a Danish book in the Danish user interface. If you wish to do this, simply click on 'På dansk' at the top of the page.
If you need to submit an English book, you can instead follow the guide Submit a Book in English. This is also available in both Danish and English.
The guide is divided into different steps. If you need help with a specific step, you can jump directly to it by following the link below:
Log in and create submission
Step 1: Details
Step 2: Upload files
Step 3: Contributors
Step 4: For the editors
Step 5: Review
Follow the submission status
Log in and create submission
If you are on the Open Books homepage, start by clicking on the institution/publisher with which you want to publish your book. This will most often be the institution where you are employed. This guide shows an example of publishing a book with The Royal Danish Library:
Next, you need to log in. If you already have a user account on Open Books, click on 'Login' at the top and log in. If you do not have a user account on Open Books, click on 'Register' at the top to create a user account:

If this is the first time, you submit a manuscript to this publisher, you first need the role of ‘Author’ to be able to submit your manuscript. To get this role, start by logging in and going to the top, right corner and click on your username. This opens a menu; click ‘View profile’ here:

Now go to the tab ‘Roles’ and assign yourself the role ‘Author’ at the publisher, then click ‘Save’ at the bottom:

Next, go to the top menu again (click the user account icon at the top of the page) and click ‘Submissions’ (see the screenshot below). If you do not have this in your menu, try to log out and log back in again.

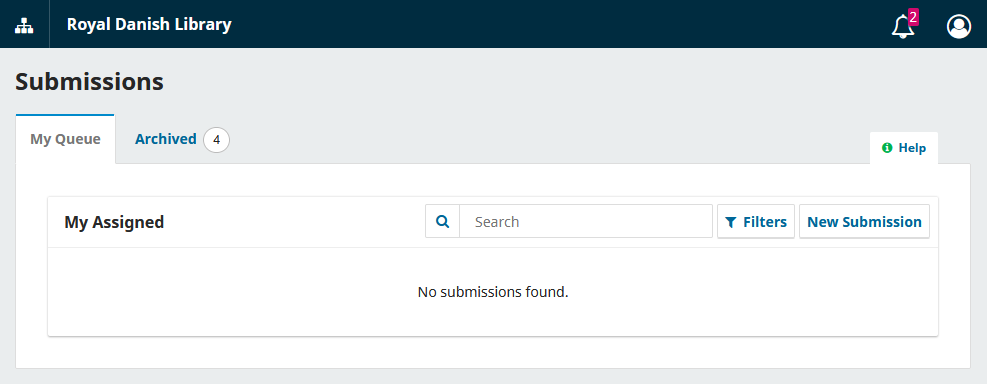
You will now see your ‘Dashboard’, which is an overview of all your submissions with this publisher. If you already had the ‘Author’ role, you will come directly to the dashboard when you log in:
If you were already logged in but do not see the overview of your submissions, you can go to the top right corner and click on your profile name, which opens a menu where you can click on 'Dashboard' to access the overview:

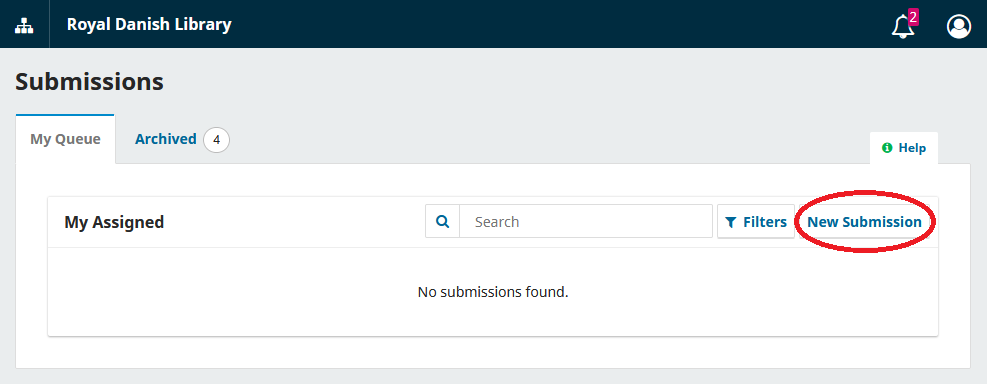
In the overview of your submissions, you can click on 'New submission' to create the submission you want to publish:
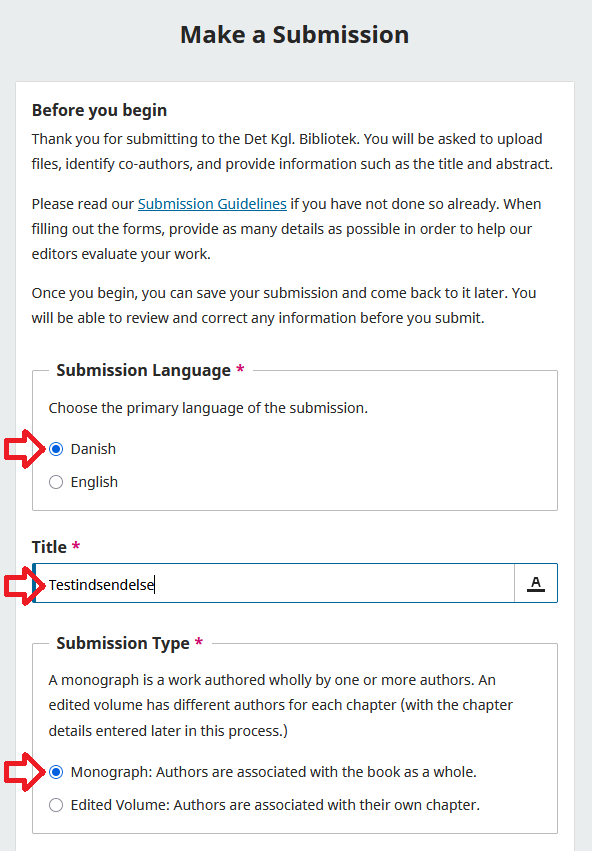
Select 'Danish' as the submission language. Then fill in the 'Title' of your submission. Remember that the title and all other information should be in Danish, since you have chosen 'Danish' as the language of the submission. If your submission is in English, you should choose 'English' as submission language and follow the guide Submit a Book in English.
Next, indicate whether it is a monograph or an anthology. This guide covers the submission of a monograph, meaning the entire book has the same authors, and you upload just one file containing the whole book. If you need to upload an edited volume / anthology / proceedings with different authors for different chapters, you can instead follow the guide Submit an Edited Volume.
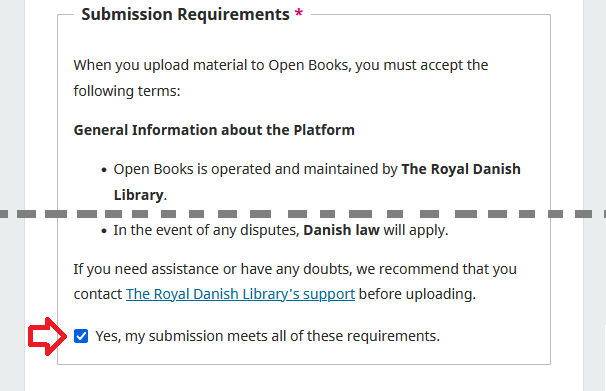
Read the submission requirements carefully and check the box if you agree to them. Individual publishers may have different requirements that you must follow, so make sure to read them thoroughly and ensure that your submission meets all of them. If you have any doubts about something, you can contact the publisher in advance of submission. There is also an option to write a message to the publisher at the end of the submission process, where you can ask about anything you are unsure of.
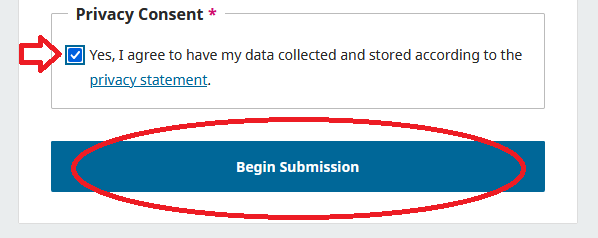
Read the privacy statement carefully and check the box if you can accept it. Then click on 'Start Submission' at the bottom:
You will now begin to fill in all the information about your book. You will go through five steps, and you can save along the way and continue at another time if you cannot complete everything right away.
Step 1: Details
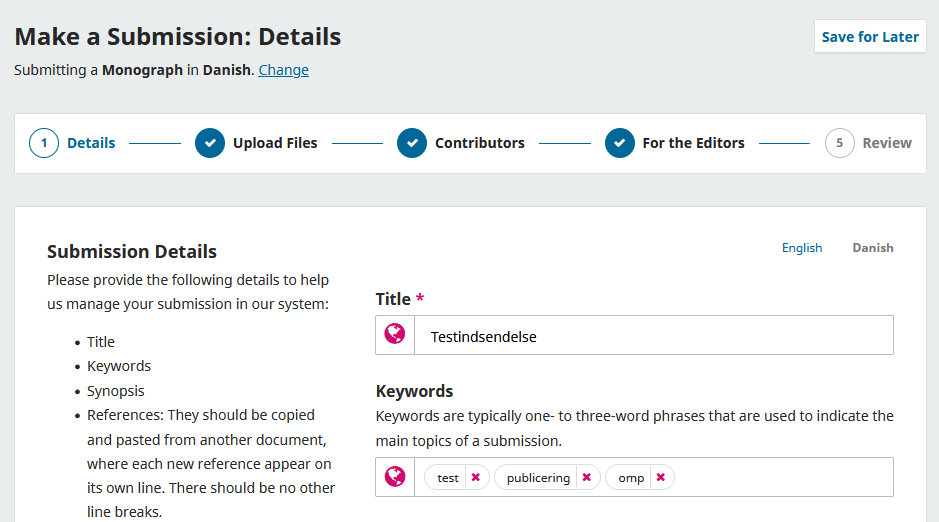
You start with step 1: Details.
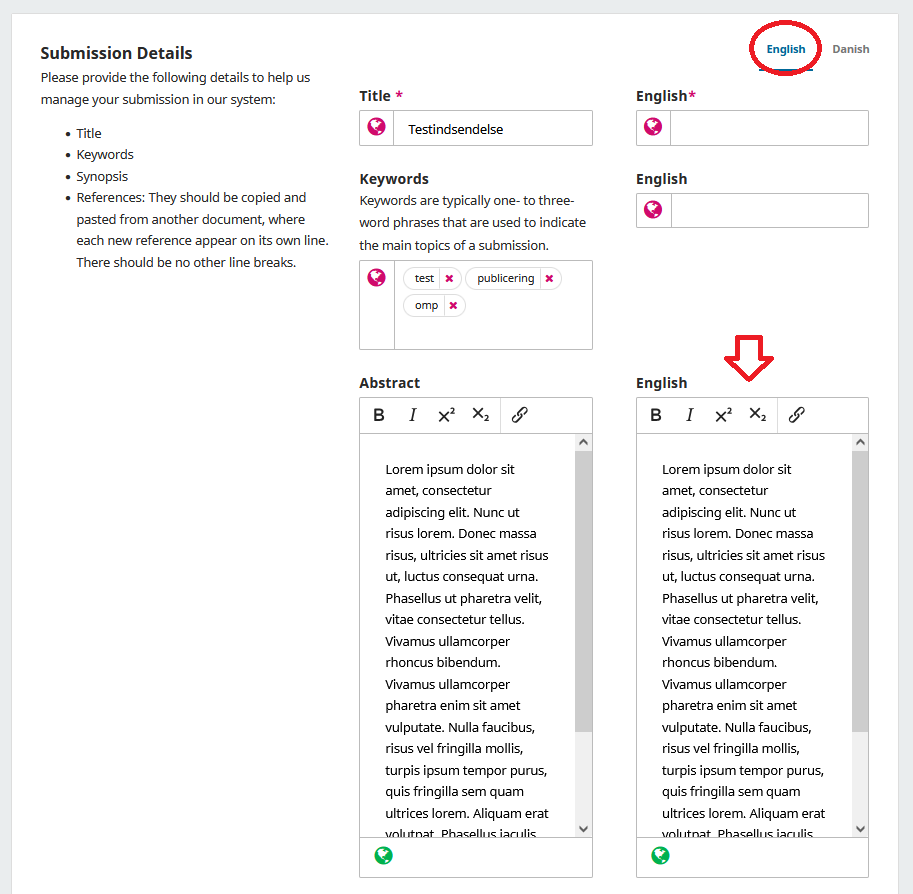
Here you can edit the title and enter keywords. Remember that these should be in Danish, since you have chosen 'Danish' as the language of the submission. If your submission is in English, you should start over by making a new submission and choose 'English' as submission language and follow the guide Submit an English Book.
To create a keyword, first type the word (or words) and then press the 'Enter' key on your keyboard, so it gets formatted as in the example below:
If you want to remove a keyword, you can click on the small cross to the right of the keyword.
Next, you can fill out an Danish abstract for the book:
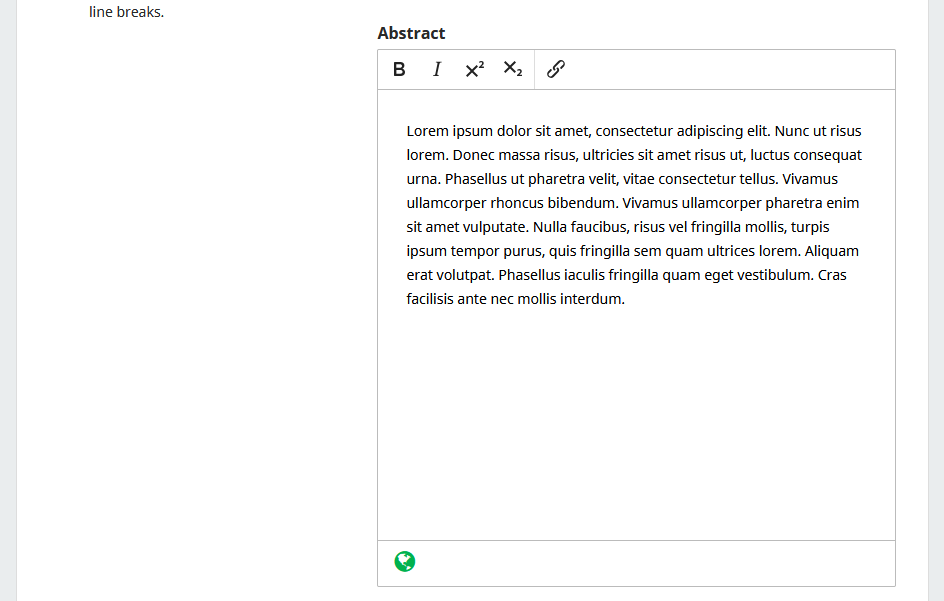
Some publications have an abstract in both Danish and English. If this is the case for your book, you have the option to write both. The Danish abstract should be entered in the field you see. To enter the English abstract, you need to click on 'English' at the top. Corresponding fields will then appear to the right of the ones that were already there. These fields are for English translations. You can choose to only fill out the abstract field in English, or you can fill out other fields in English as well if you have also translated your title or wish to showcase English keywords.
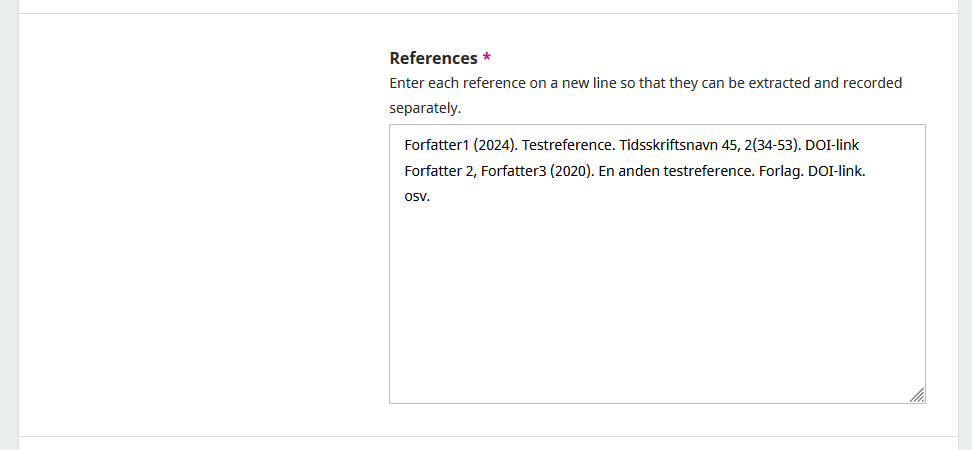
Next, you will fill in the references field. Each new reference should be written on a new line. There should be no other line breaks except those between individual references. You can only enter references by copying them from another document, as there is a bug in the system that prevents you from moving to a new line in the field (but you can copy text that contains line breaks, and the line breaks will be preserved). Remember to include DOI links in your references if they have a DOI link.
The various publishers on Open Books may have other fields than those shown in this guide that you can or must fill out. Fill out as much as you can. Mandatory fields are marked with an asterisk *. These MUST be filled out before you can proceed to the next step.
At the end of step 1, you have the option to specify chapters in your book. This is usually only relevant if you are submitting an edited volume. If you wish to, you may add the chapters, but it is not necessary. Later in the process, you can also upload chapter files for each chapter, if you would like the reader to be able to download a file for a specific chapter instead of only downloading one file for the whole book. In this case, you should always make sure that each file includes information about the book of which the chapter is a part. Your publisher may have a specific policy about this; in this case you should follow that.
If you do not wish to add chapters, you can skip this and simply click on the 'Continue' button below. If you do not have more time now, you can also click on 'Save for later' instead. You can later resume the work of preparing your submission by finding it in your overview of submissions.

Step 2: Upload Files
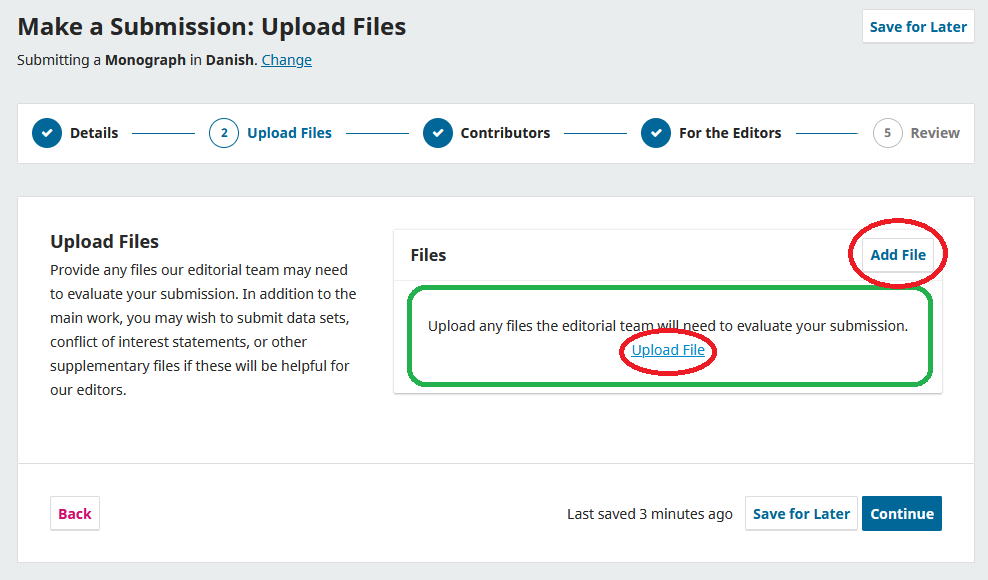
In step 2: Upload Files, you will upload your manuscript and any other relevant files.
Click on 'Add file' or 'Upload file' and locate the file on your computer and click 'Open'. If you have File Explorer open on your computer in the folder where the file is located, you can also 'drag and drop' the file from the folder in File Explorer to the area under the 'Files' heading.
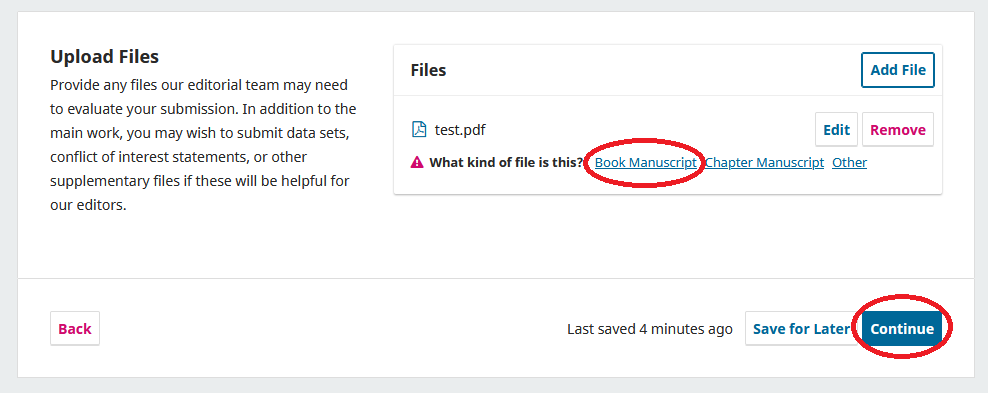
Once you have uploaded a file, you need to specify what type of file it is. If it is the manuscript of the book, you should click on 'Book Manuscript'. Make sure that the file you have uploaded is in the correct format. Some publishers prefer to receive a Word file, while others prefer a PDF file.
If relevant for your submission, you can add more files, for example, if the publisher wants images uploaded separately. In many cases, it will be sufficient to upload only a book manuscript.
Once you have uploaded all relevant files and specified their type, click on the 'Continue' button.
Step 3: Contributors
In step 3: Contributors, you need to specify all authors and any other contributors of the book.
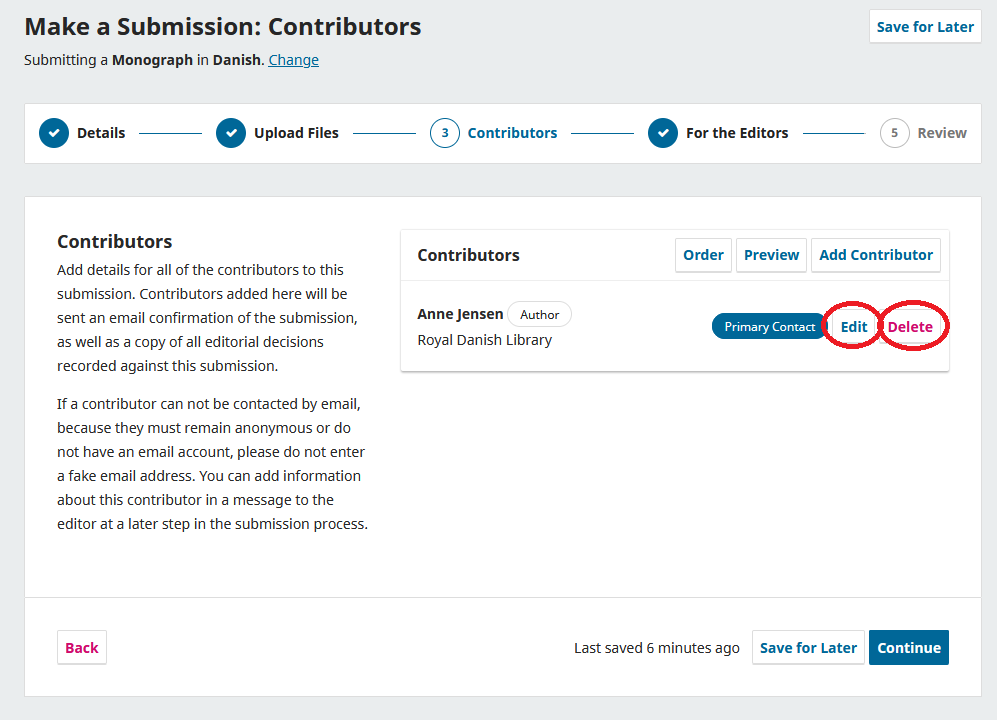
By default, you will be listed as an author. The information here is pulled from your user account. You have the option to edit your information, such as adding your ORCID ID, editing your affiliated institution, or adding a biography by clicking on 'Edit'. If you are uploading a book on behalf of someone else (and have permission to do so), and you are not the author of the book yourself, you can click on 'Delete' to remove yourself as a contributor:
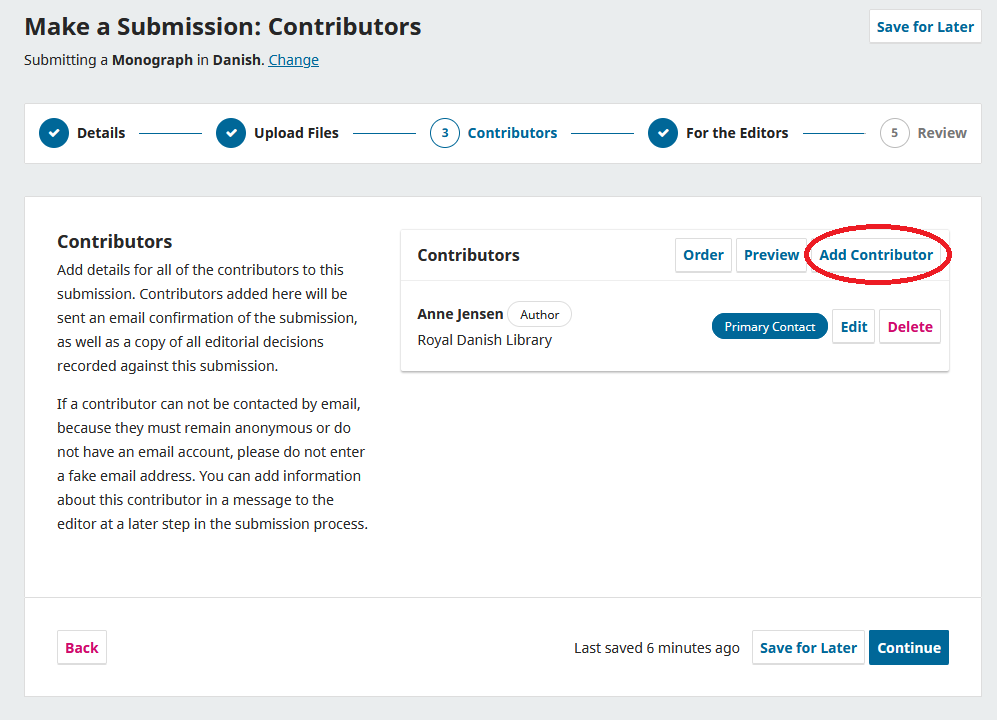
You can click on 'Add Contributor' to add a new contributor:
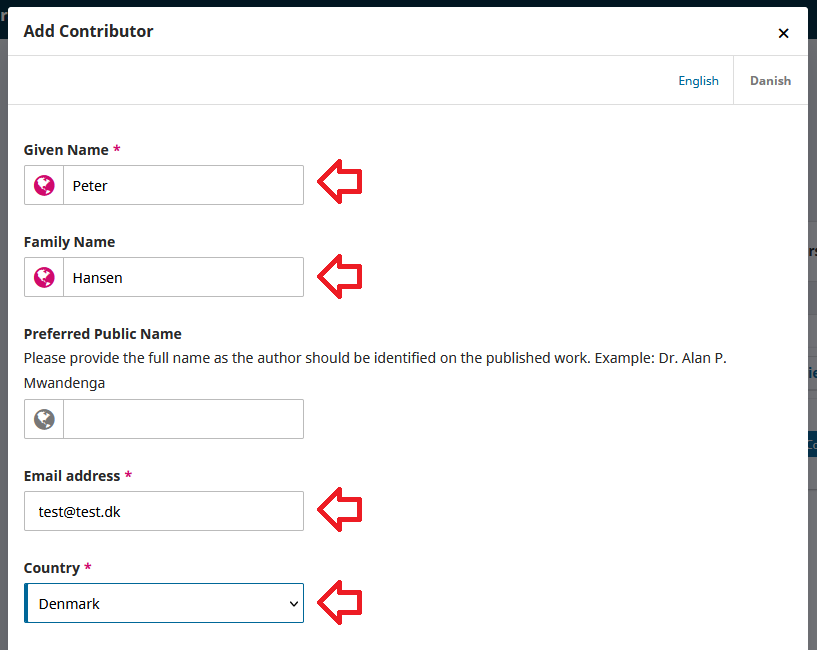
Fill in the information about the person. You can provide various details, and the specific information that can be entered may vary from publisher to publisher. Fill in as much as you can:
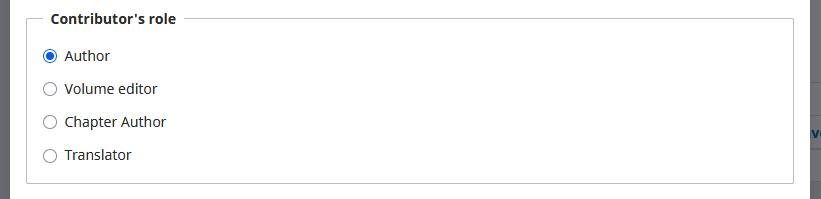
Specify the contributor's role. Most often it will be 'Author'. The roles 'Volume Editor' and 'Chapter Author' should only be used if the submission is an edited volume:
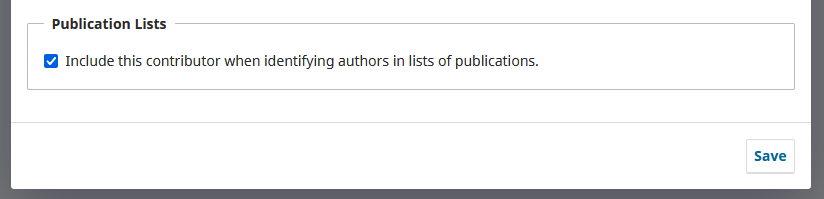
Make sure to check the box at the bottom next to 'Include this contributor when identifying authors in lists of publications':
Finally, click 'Save' at the bottom. If it shows an error and will not save, it is because there is one or more fields that have not been filled out, but must be filled out. Once you have completed the required field, you can try to save again. If it still shows an error for the same field, it may be because the system requires you to fill in the information in that field in both Danish and English. In that case, click on 'English' at the top and then fill in the English field:
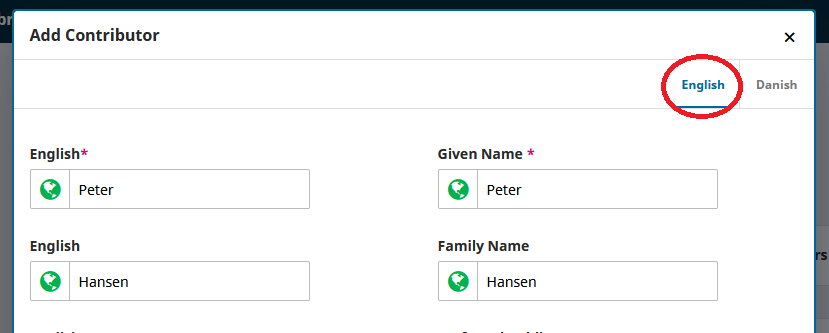
You should now be able to save.
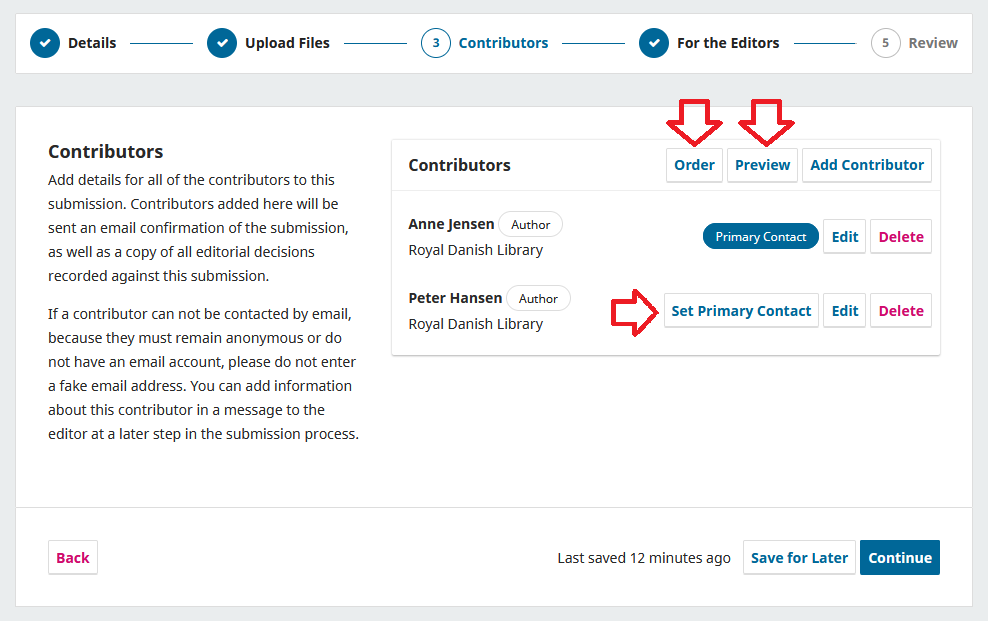
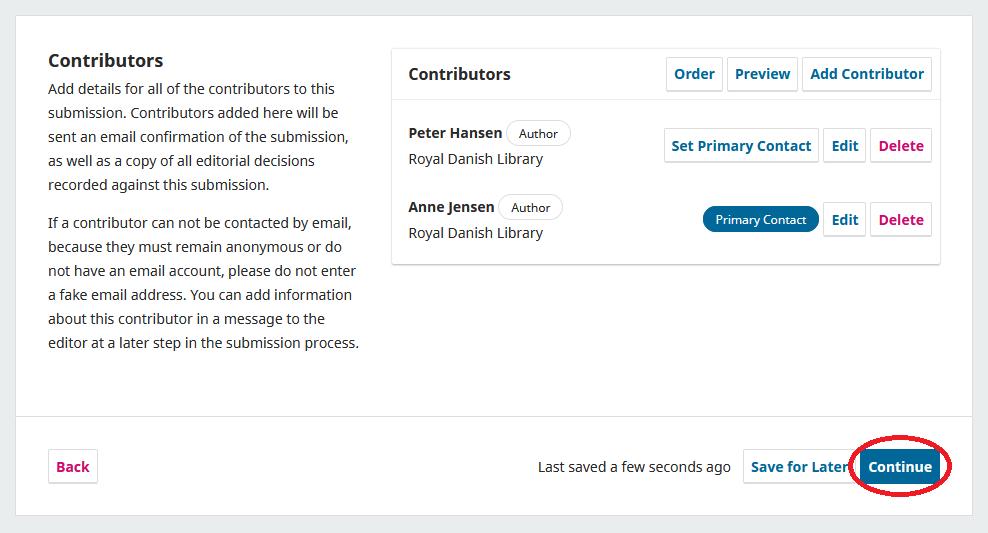
Once you have added all contributors, you can specify who among them will be the primary contact. You can also change their order if it is incorrect. The top author should be the first author, the next should be the second author, and so on. You can check how it will look, for example, in citations by clicking on 'Preview':
If they are not in the correct order, you can change the sequence by clicking on 'Order' and then clicking on the small arrows to the right of a contributor's name to move them up or down. Click on 'Save order' when the order is correct:
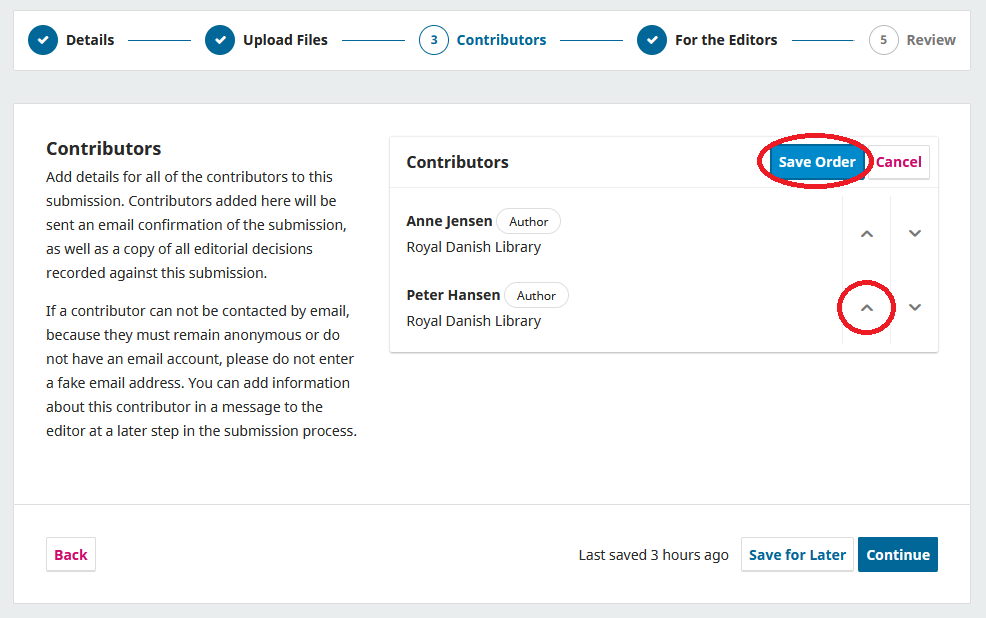
Then click on 'Continue' at the bottom:
Step 4: For the Editors
You have now reached step 4: For the Editors. Here you can fill out additional information. Remember, that you have chosen Danish as the submission language, so all information should be in Danish even though all the ‘headlines’ of the boxes and information around the boxes are written in English.
In this guide, it is possible to fill out information about language, supporting agencies, and type. The publisher you are submitting your manuscript to may require you to fill out different information.
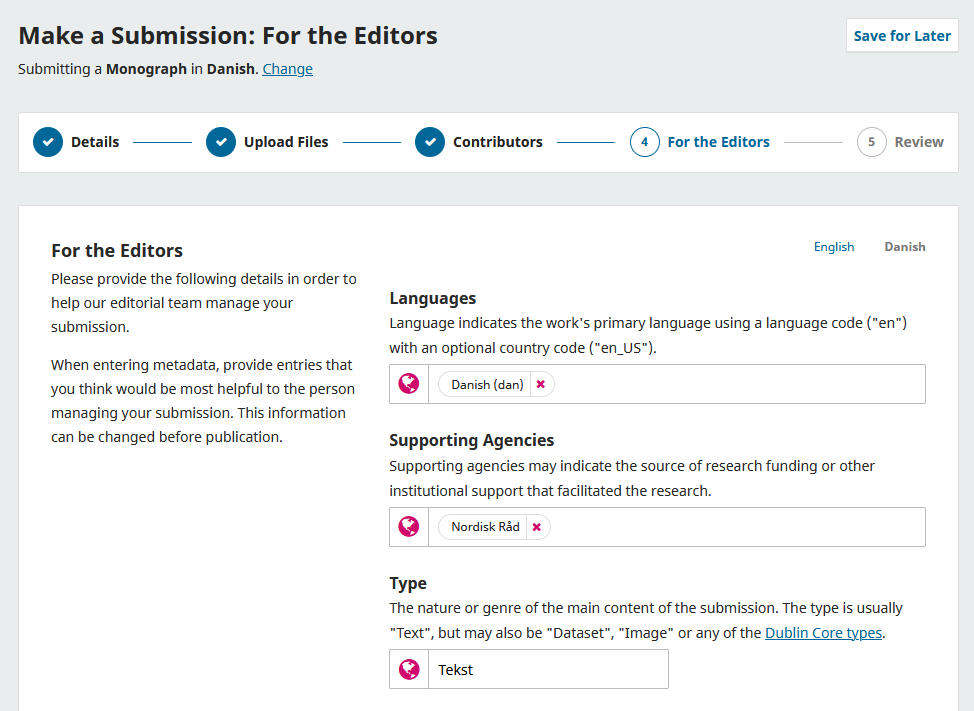
Fill out as much information as possible. Mandatory fields are marked with an asterisk *. These MUST be filled out before you can proceed to the next step.
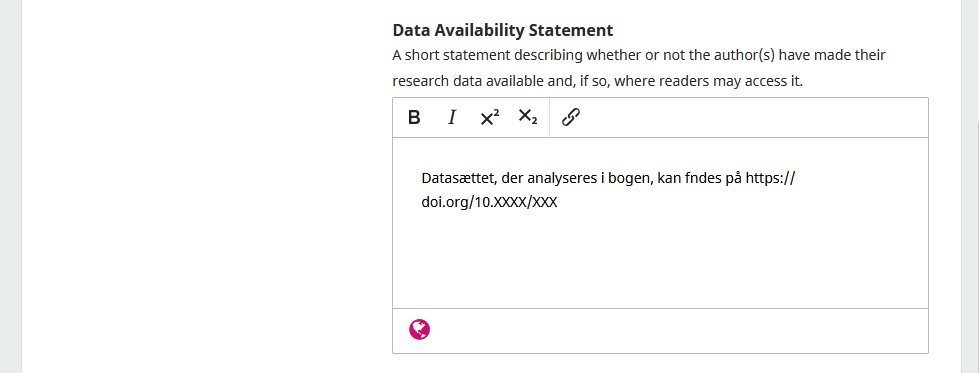
If the publisher has enabled it, there may also be a field where you can insert information about any data related to the book. If the data has been published in a repository, you can for example insert a link to it.
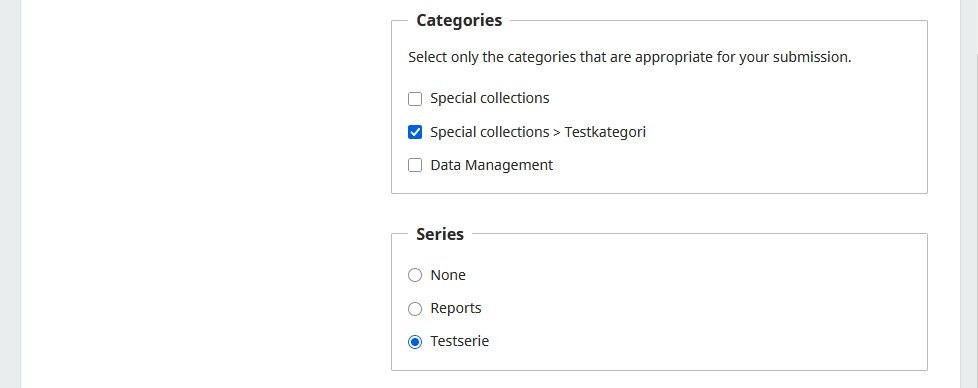
Select the category that best fits your book. You may choose more than one. You may also select a series that the book fits into, if relevant for your book. Categories and series may vary from publisher to publisher, so the ones you can choose from are not necessarily the same as in the example below:
At the bottom, there is an option to write a message to the editor at the publisher. Here, you can, for example, ask them questions, clarify information that you could not specify anywhere, or explain if you were unsure whether any of the information you provided in the process is correct:
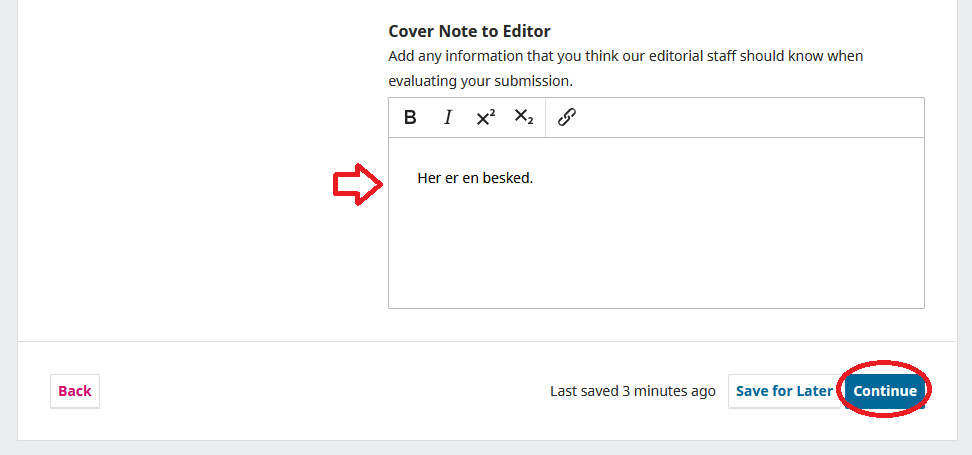
Finally, click on 'Continue' at the bottom.
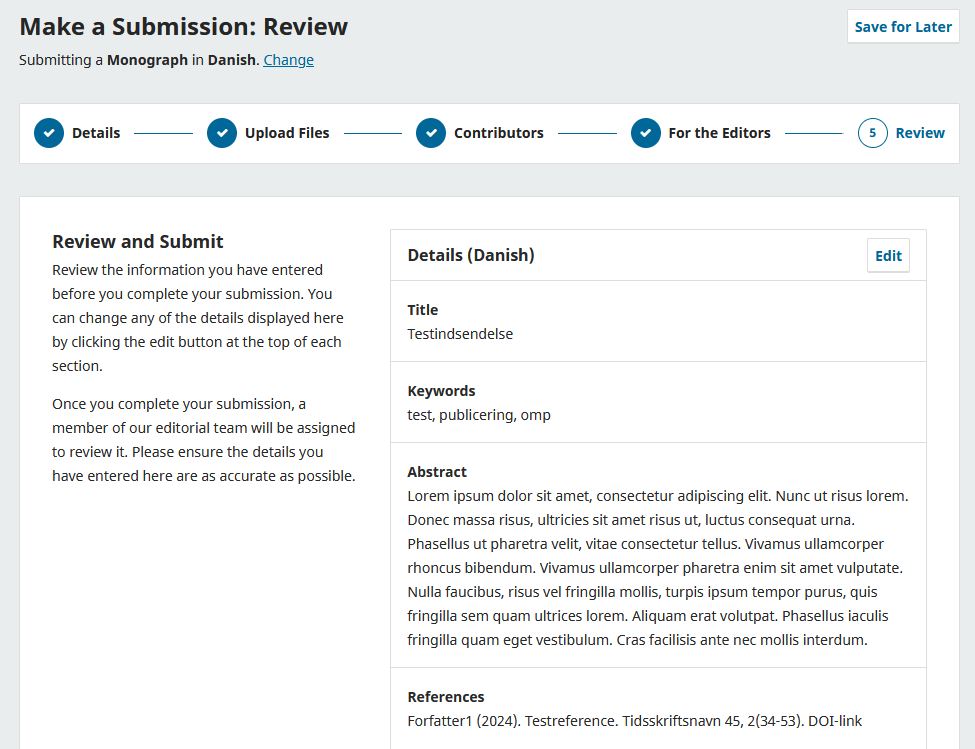
Step 5: Review
In step 5: Review, you will have the opportunity to review all the information you have filled out and possibly correct anything that is not accurate.
If something needs to be corrected, click on 'Edit' in the section where you want to make changes:
When everything is correct, scroll down to the bottom of the page, where you will need to read the copyright statement and check the box if you can accept it. Then click on 'Submit' at the bottom:
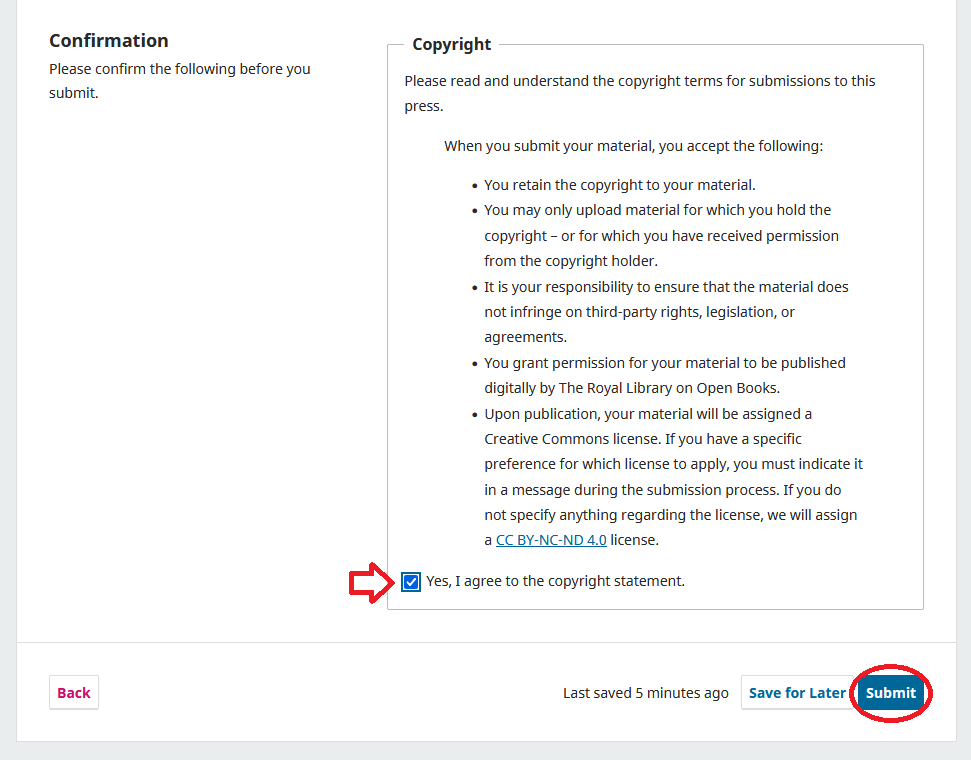
The publisher will now be notified that you have submitted a book to them, and they will review it and possibly contact you if they have questions or similar during the process.
Follow the Submission Status
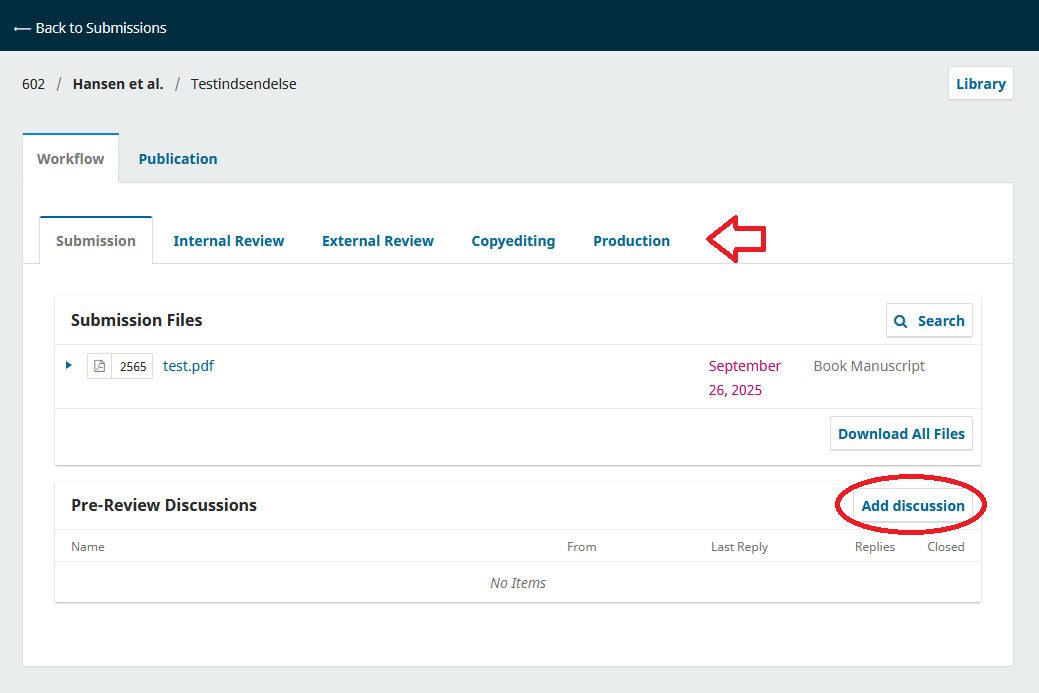
If you later want to see the status of your submission, you can log in and view your dashboard, where you will get an overview of all your submissions. In the overview, you can see which step the submission is at. For this submission, it is still at the first step, namely submission, but later it may change to, for example, 'External Review' or 'Production'. If you want to take a closer look at the submission, you can click on 'View' to the right of the submission:

Here you can find more details about the submission. You can see which step the submission has reached in the publication process by looking at the different tabs at the top. You also have the option to send a message to the editor of the submission by clicking on 'Add discussion':
If the editor has any questions for you, they will typically contact you here as well. You may receive a notification about this via email and also have the option to respond directly to the email, but it is preferable that you log in and respond here (unless you are advised otherwise by the editor).